The "Summer research project" is part of Japan's education system. Students observe plants, create art, and explore various themes, then present their process and results.
The SOUL COVENANT staff decided to try their own Summer research project!
The theme is "Let's Make an Eve Figure."
I will explain the process of making the figure in three parts, so please stay tuned.
Production Staff:
Shinpei Naito
Thirdverse 3D Character Modeling
I create figures as a hobby. I usually focus on male characters, but this is my first time challenging myself with a female character.
Part 2: Adjusting the Shape, Preliminary Coloring, and Test Printing
In Part 1, I finally completed the process of sculpting the details. If you haven't seen that article yet, please take a look!
Today I'll proceed with shaping adjustments to make it look good, as well as coloring in Zbrush.
Although I got quite close to the final shape in the last session, applying preliminary colors makes me think, "Maybe I should tweak this area a bit more." I'll make adjustments little by little while envisioning the final product.
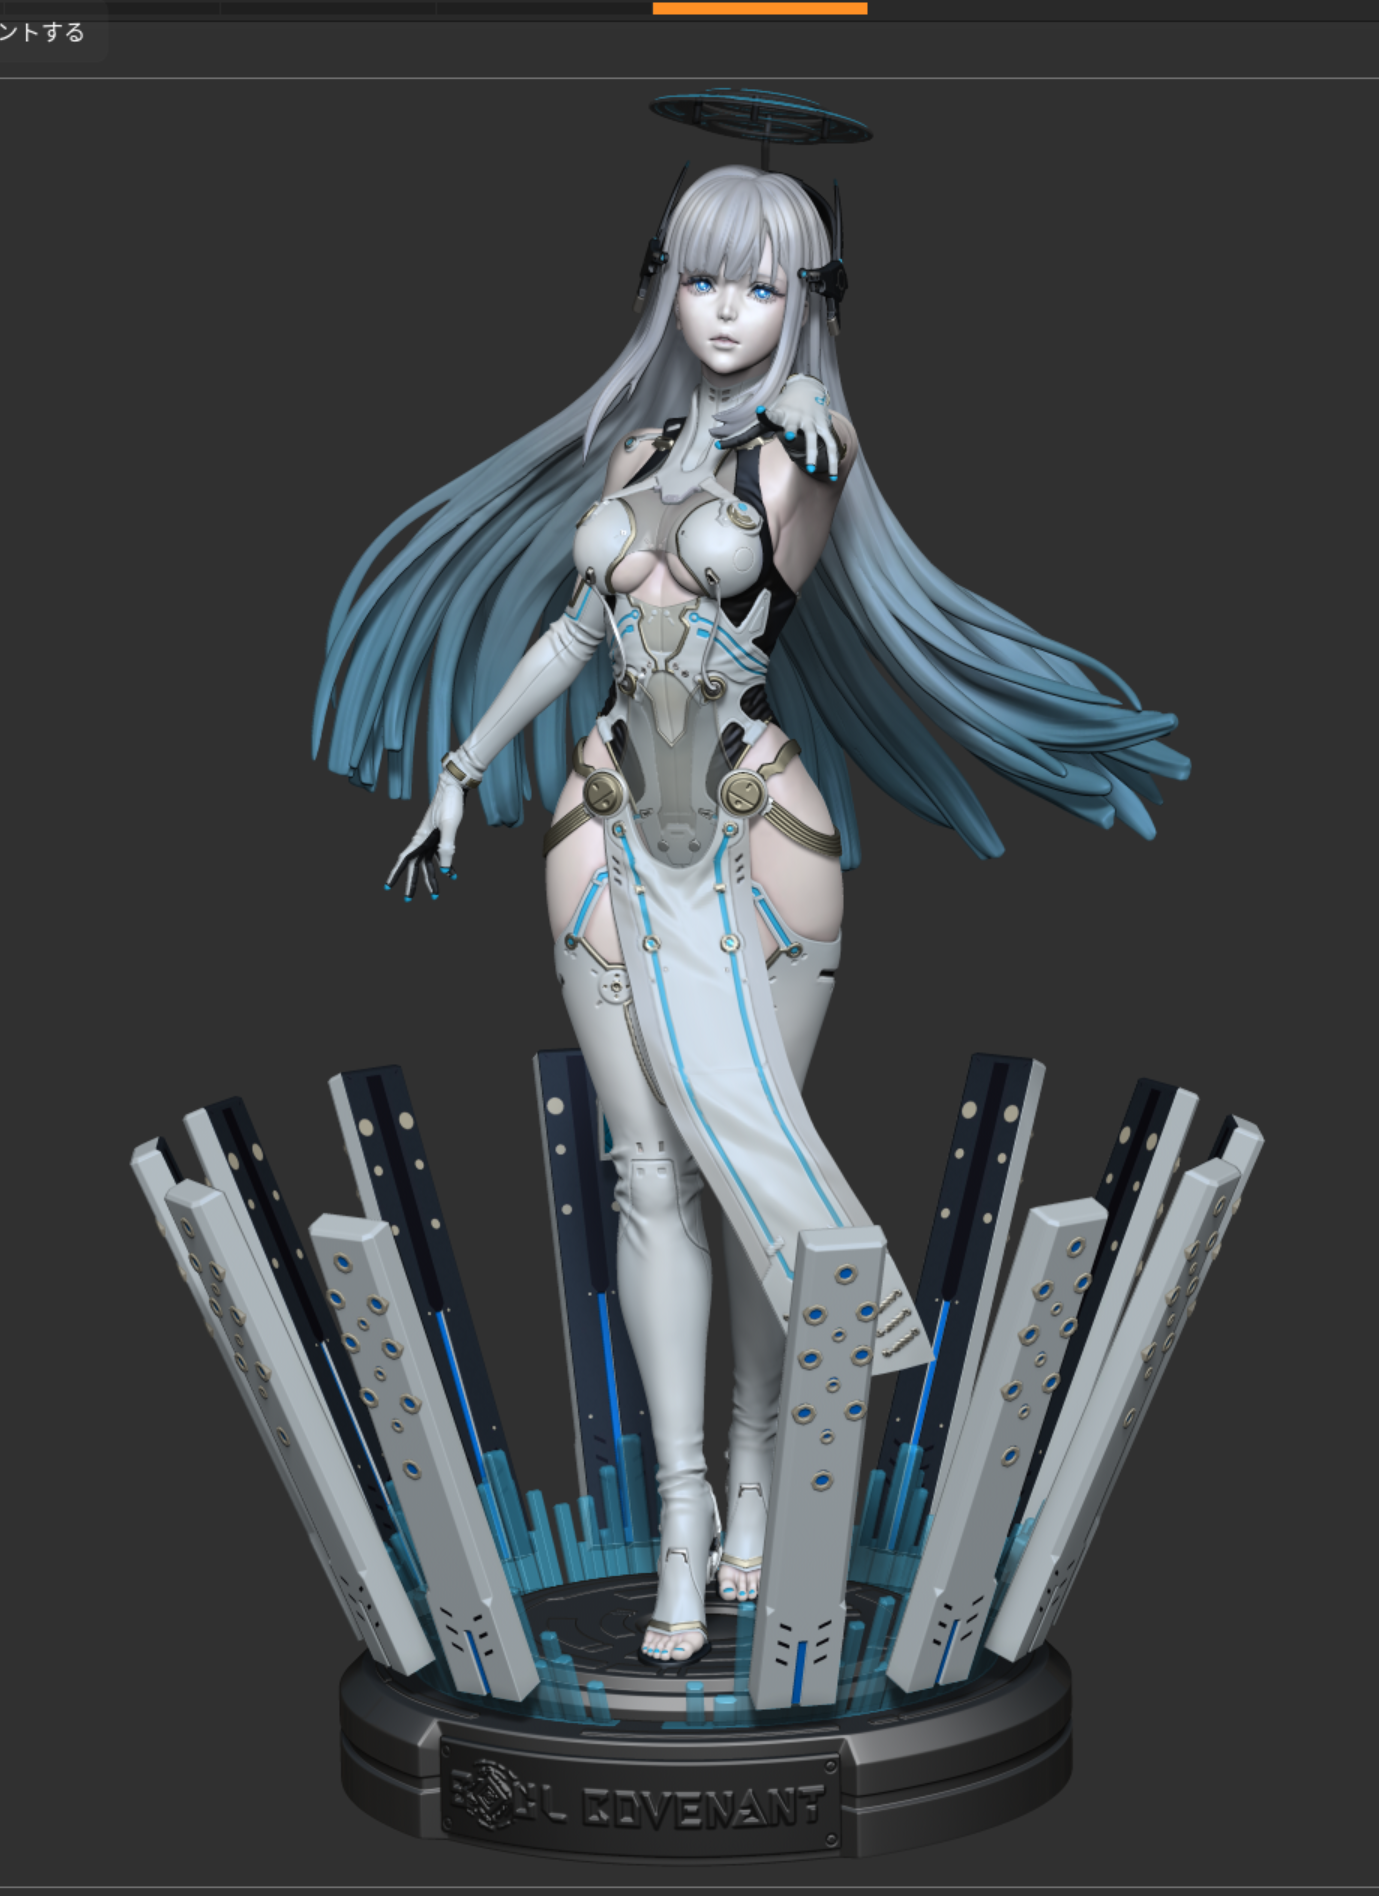
Looks good.
Once you add color, it really starts to look like Eve.
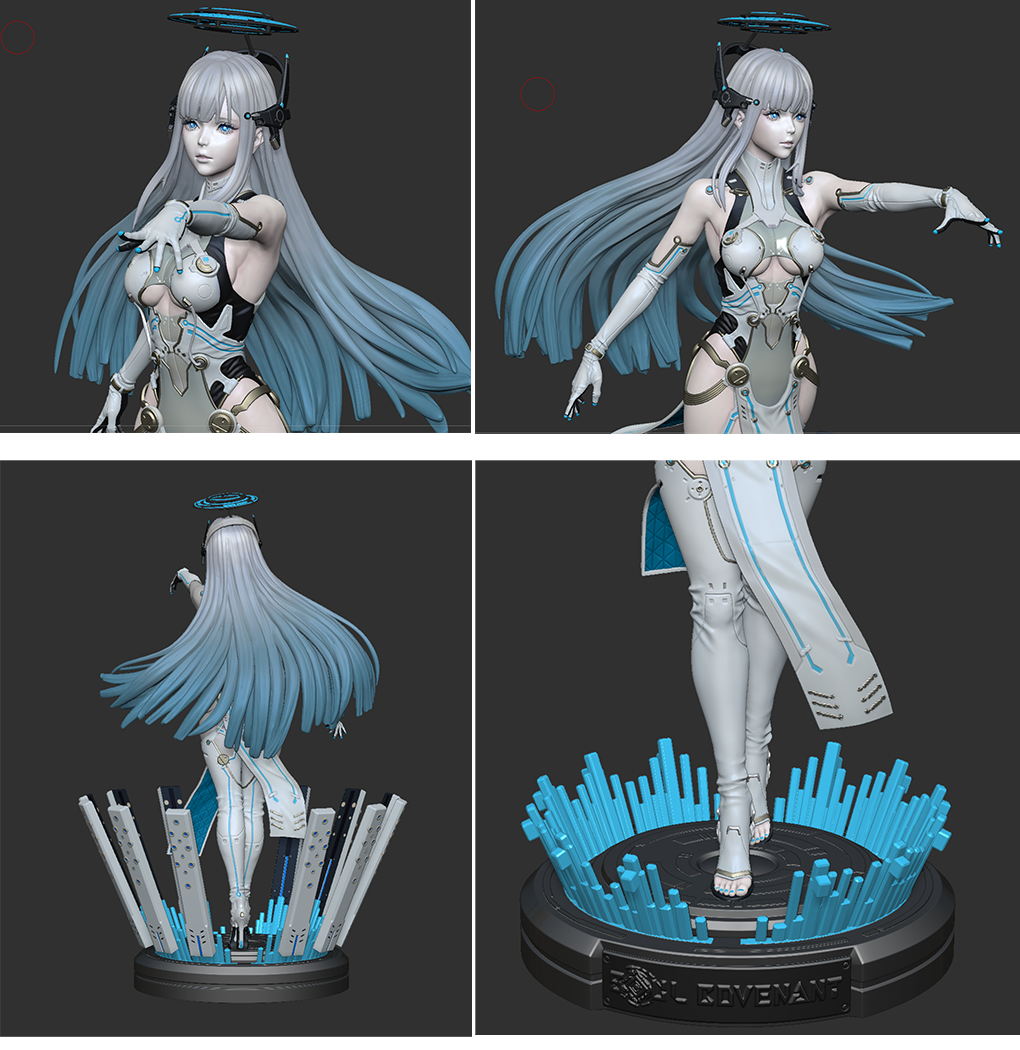
Here's how it looks up close.
It's important to check from various angles to assess the balance and other aspects.
Once this step is completed, I'll proceed with setting up for 3D printing. I'll use Zbrush to divide the parts, add connection holes considering ease of printing and painting, and then create 3D print data using CHITUBOX Basic V2.1.
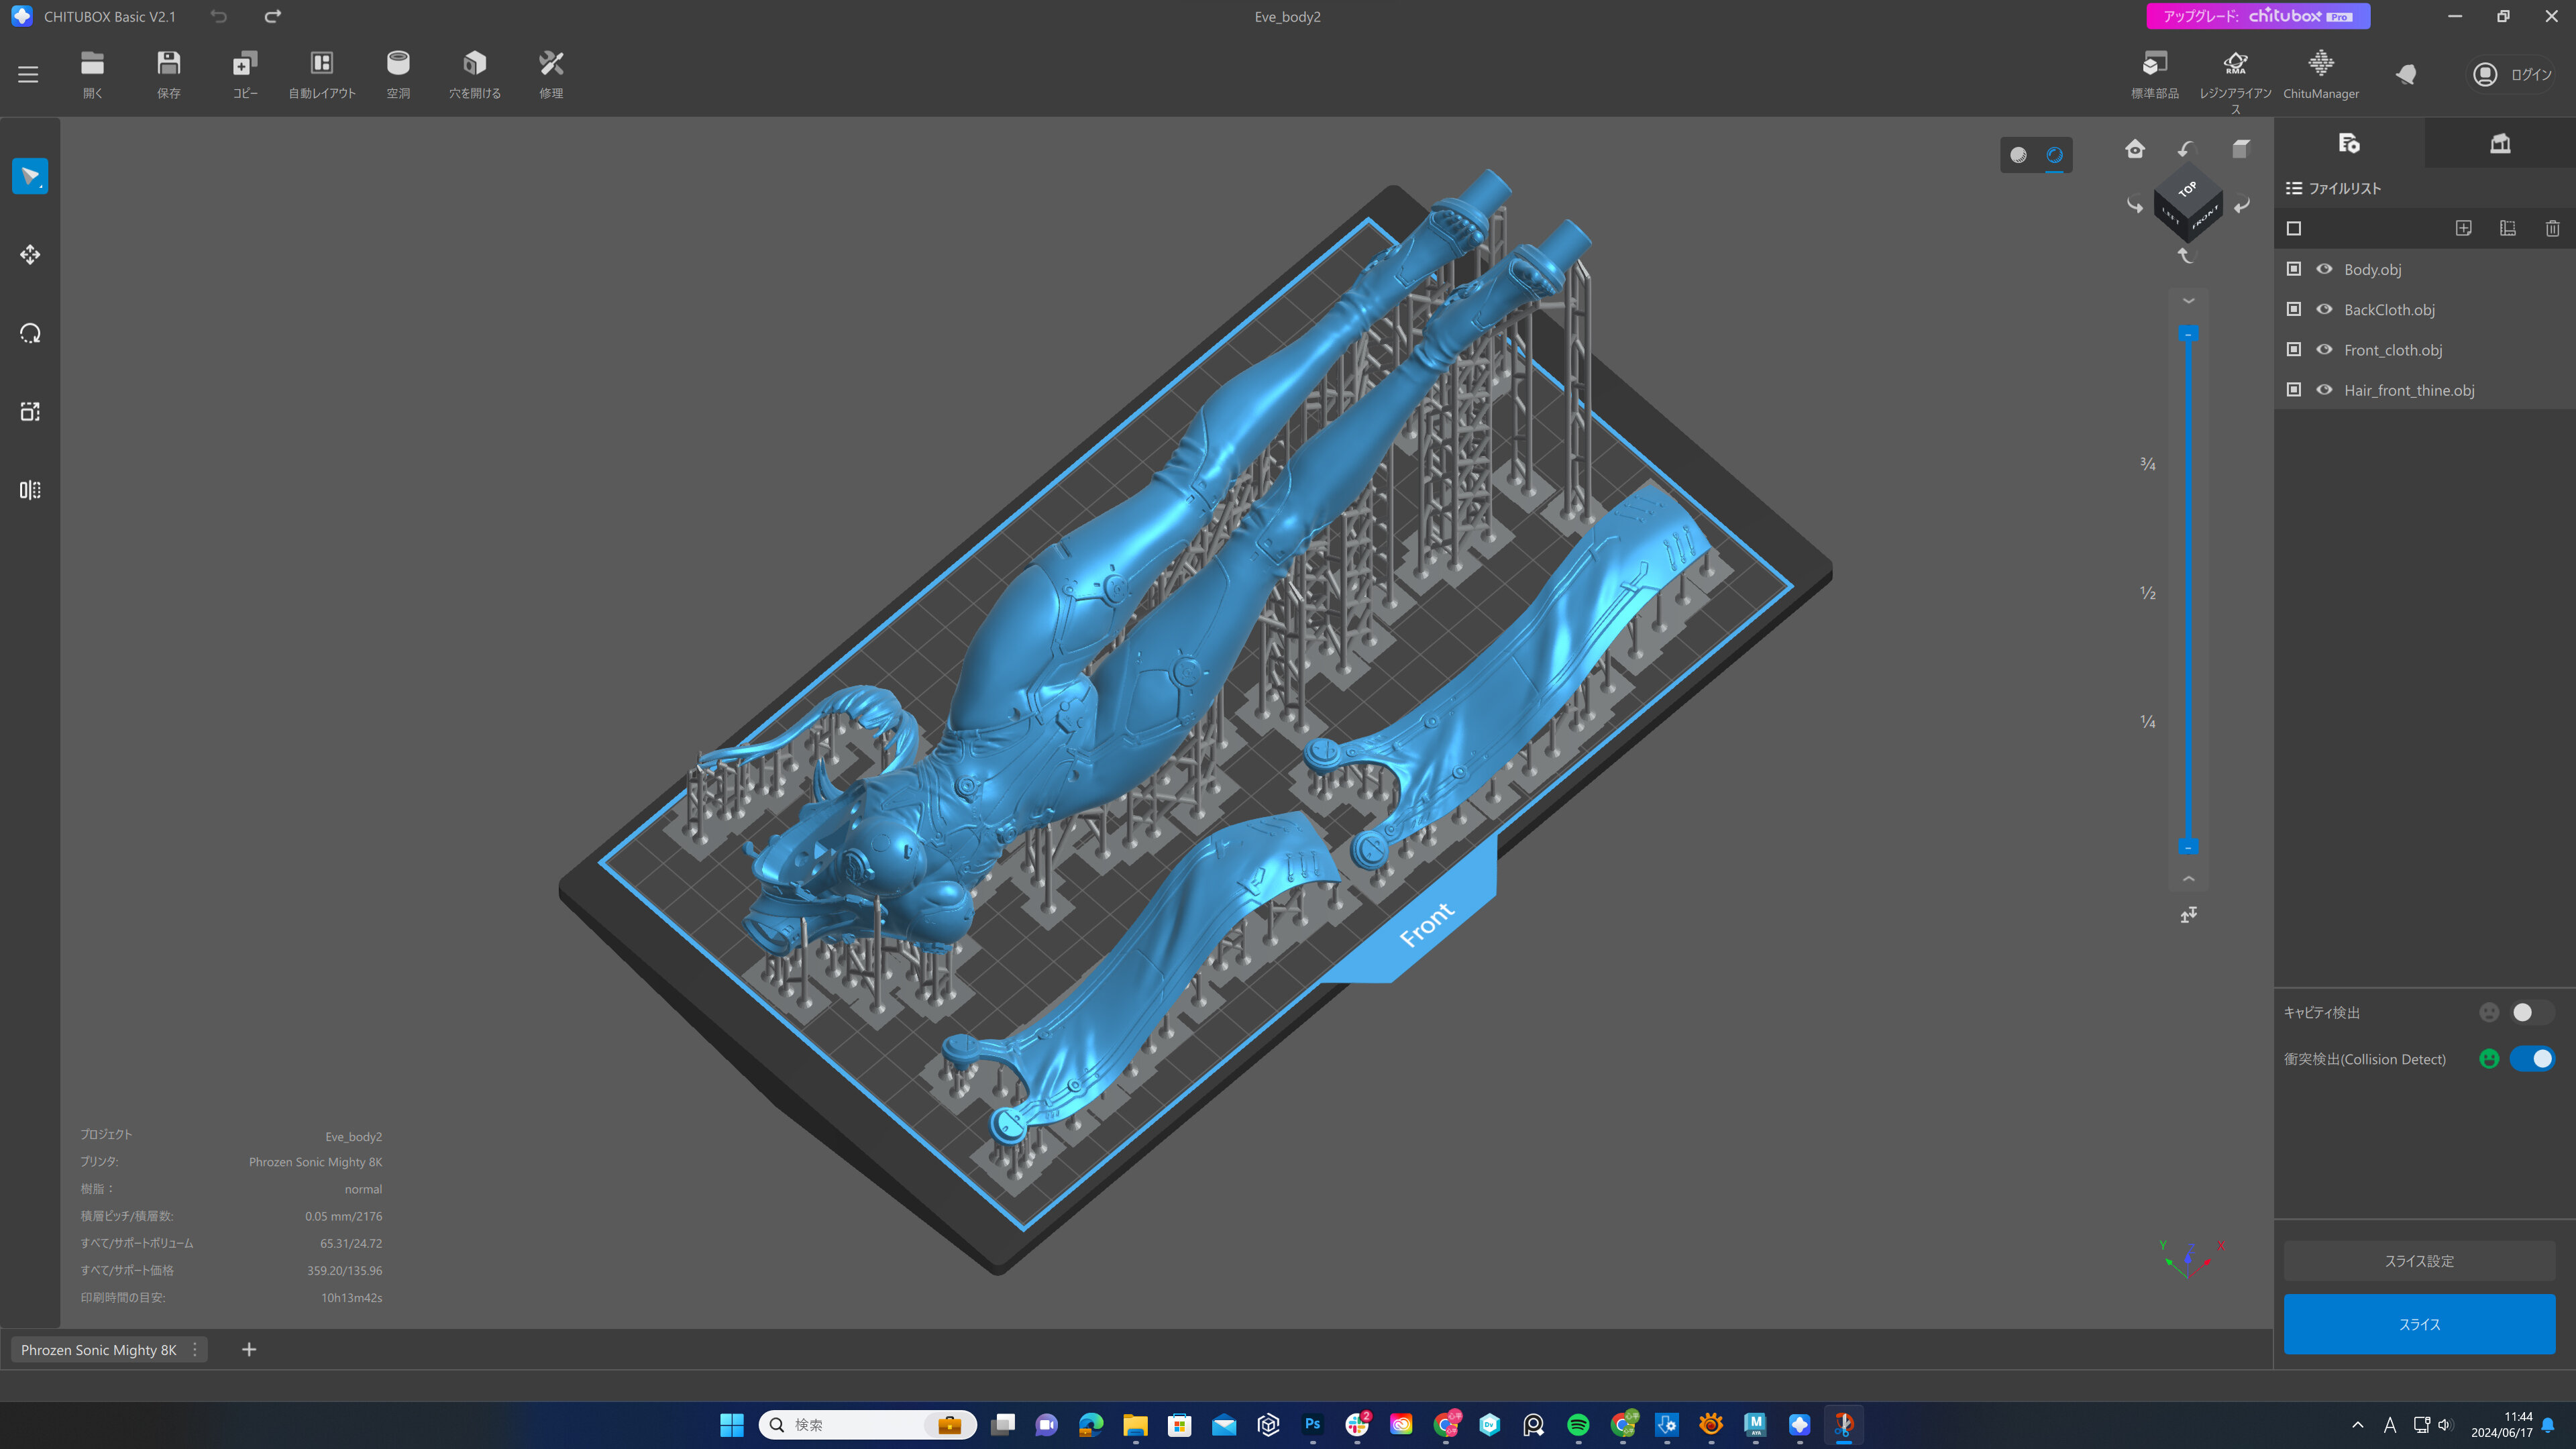
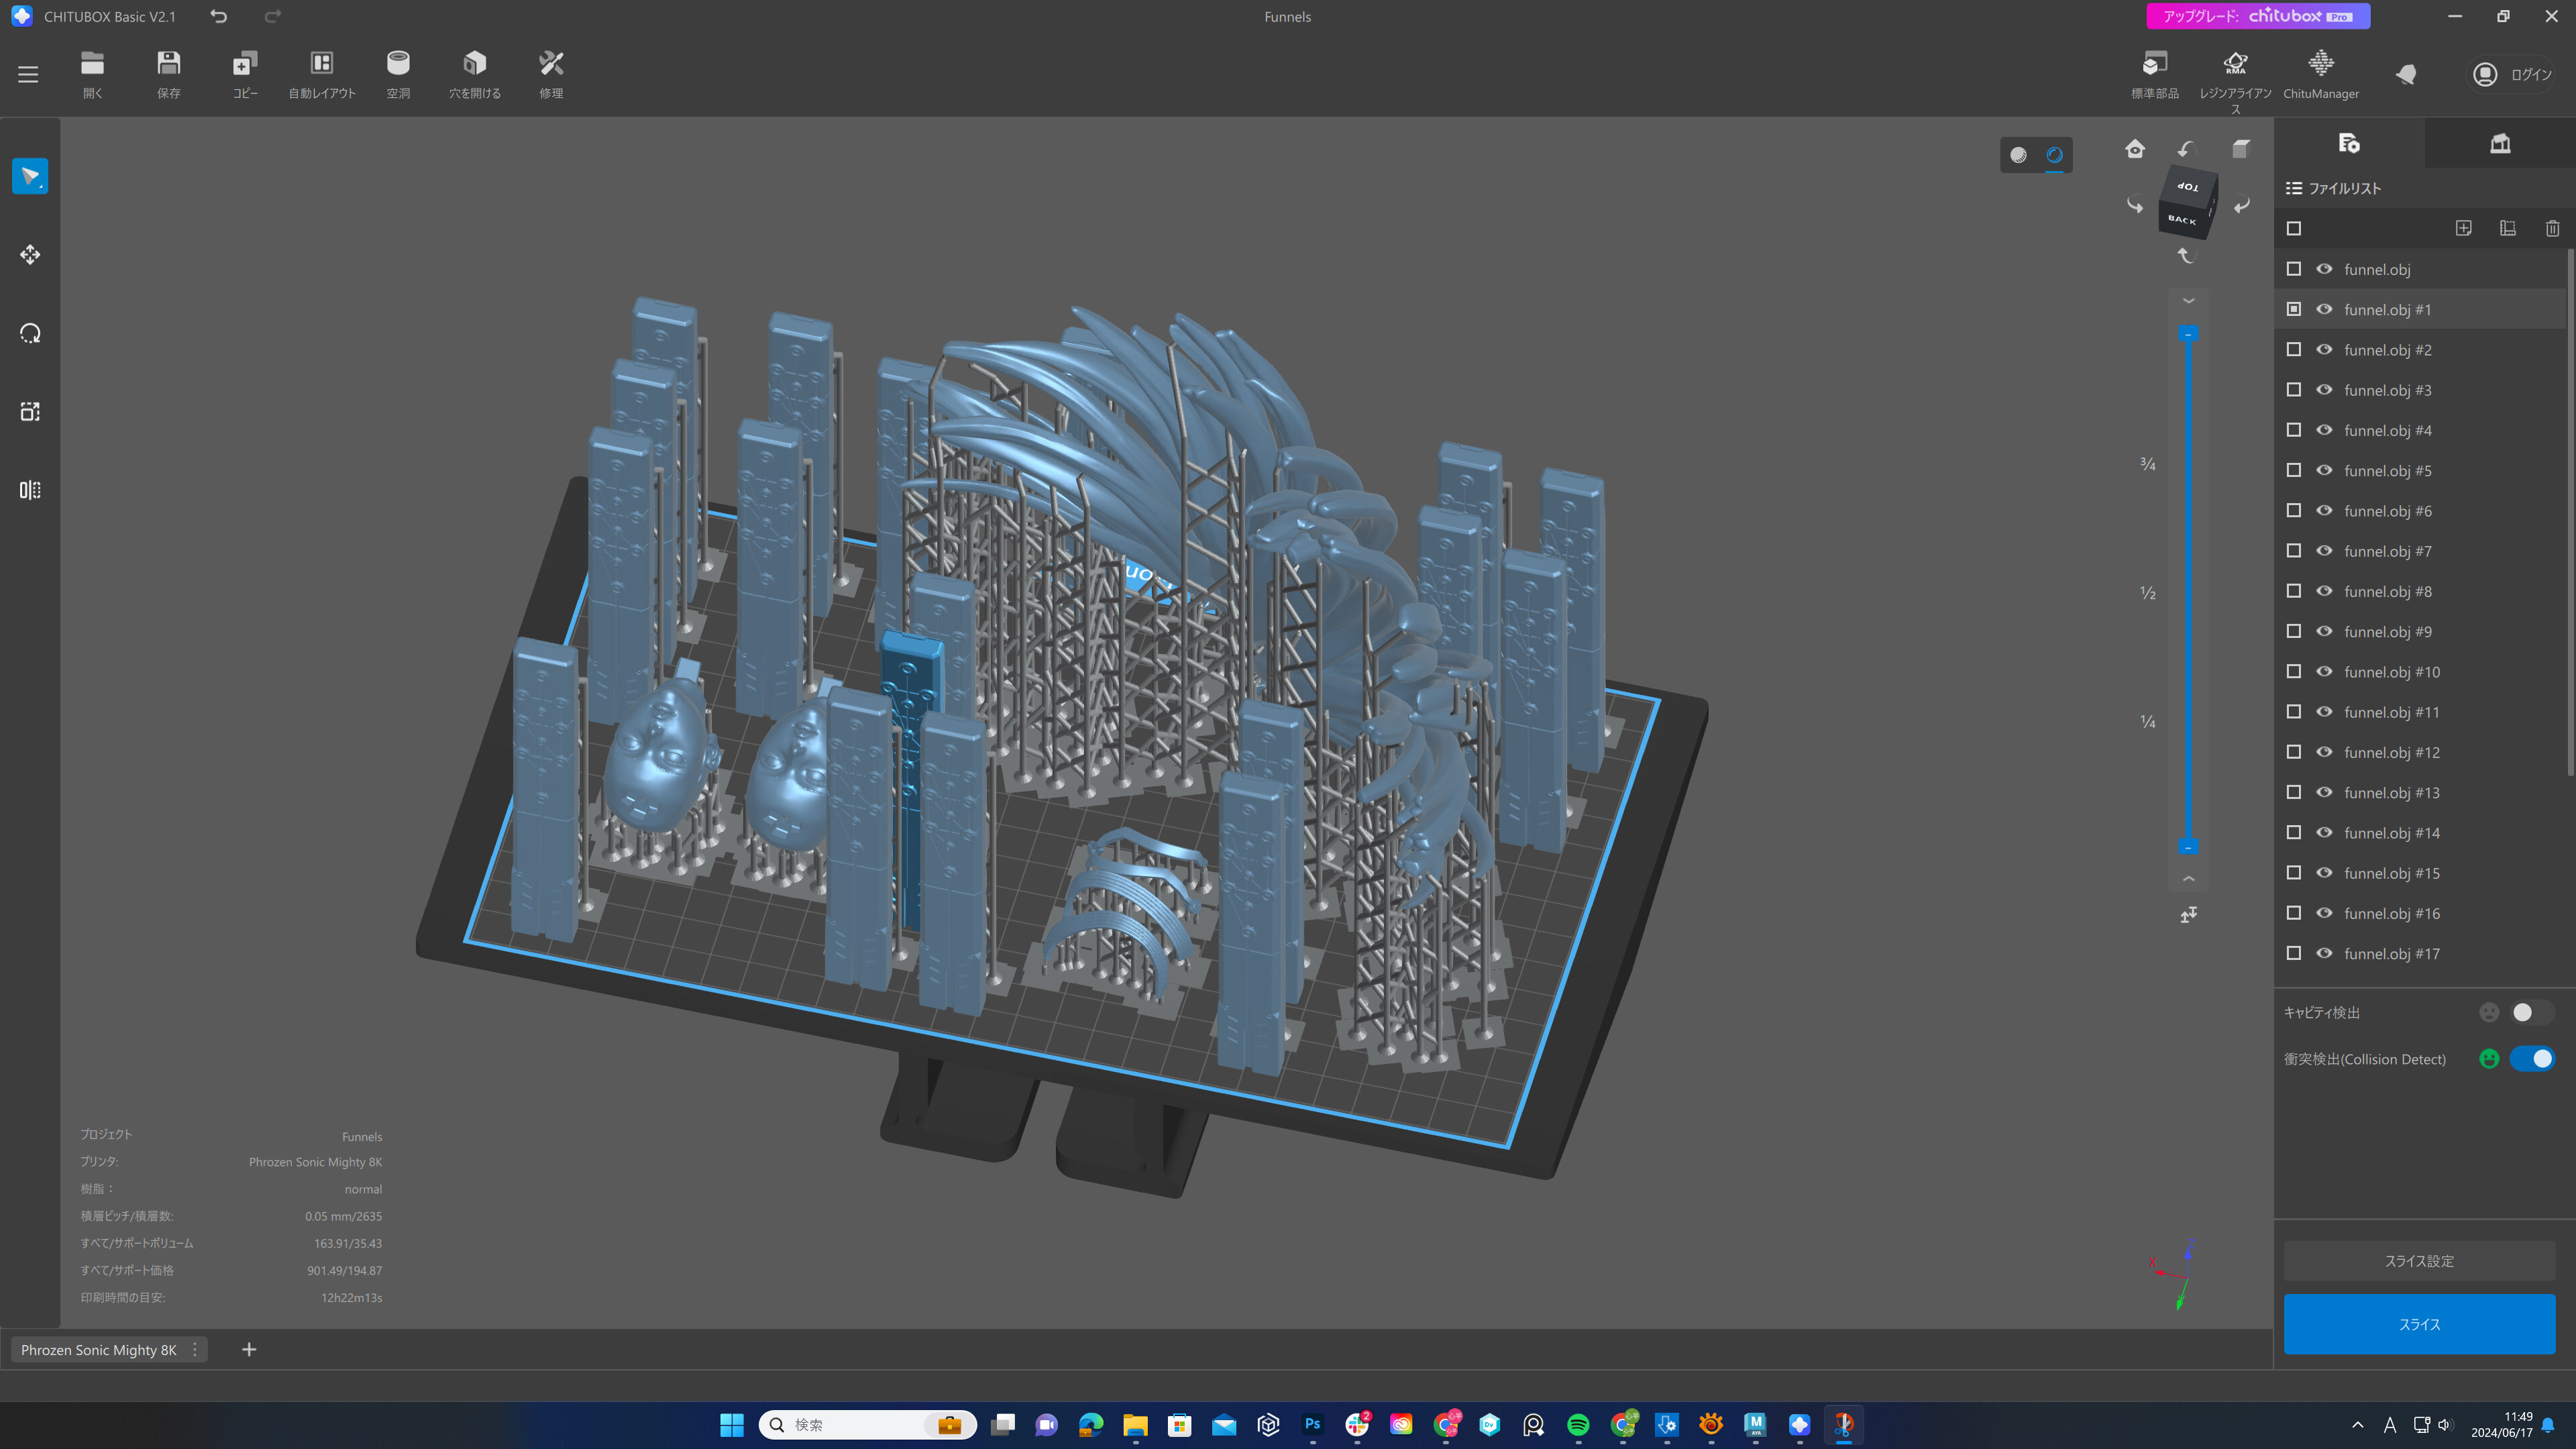
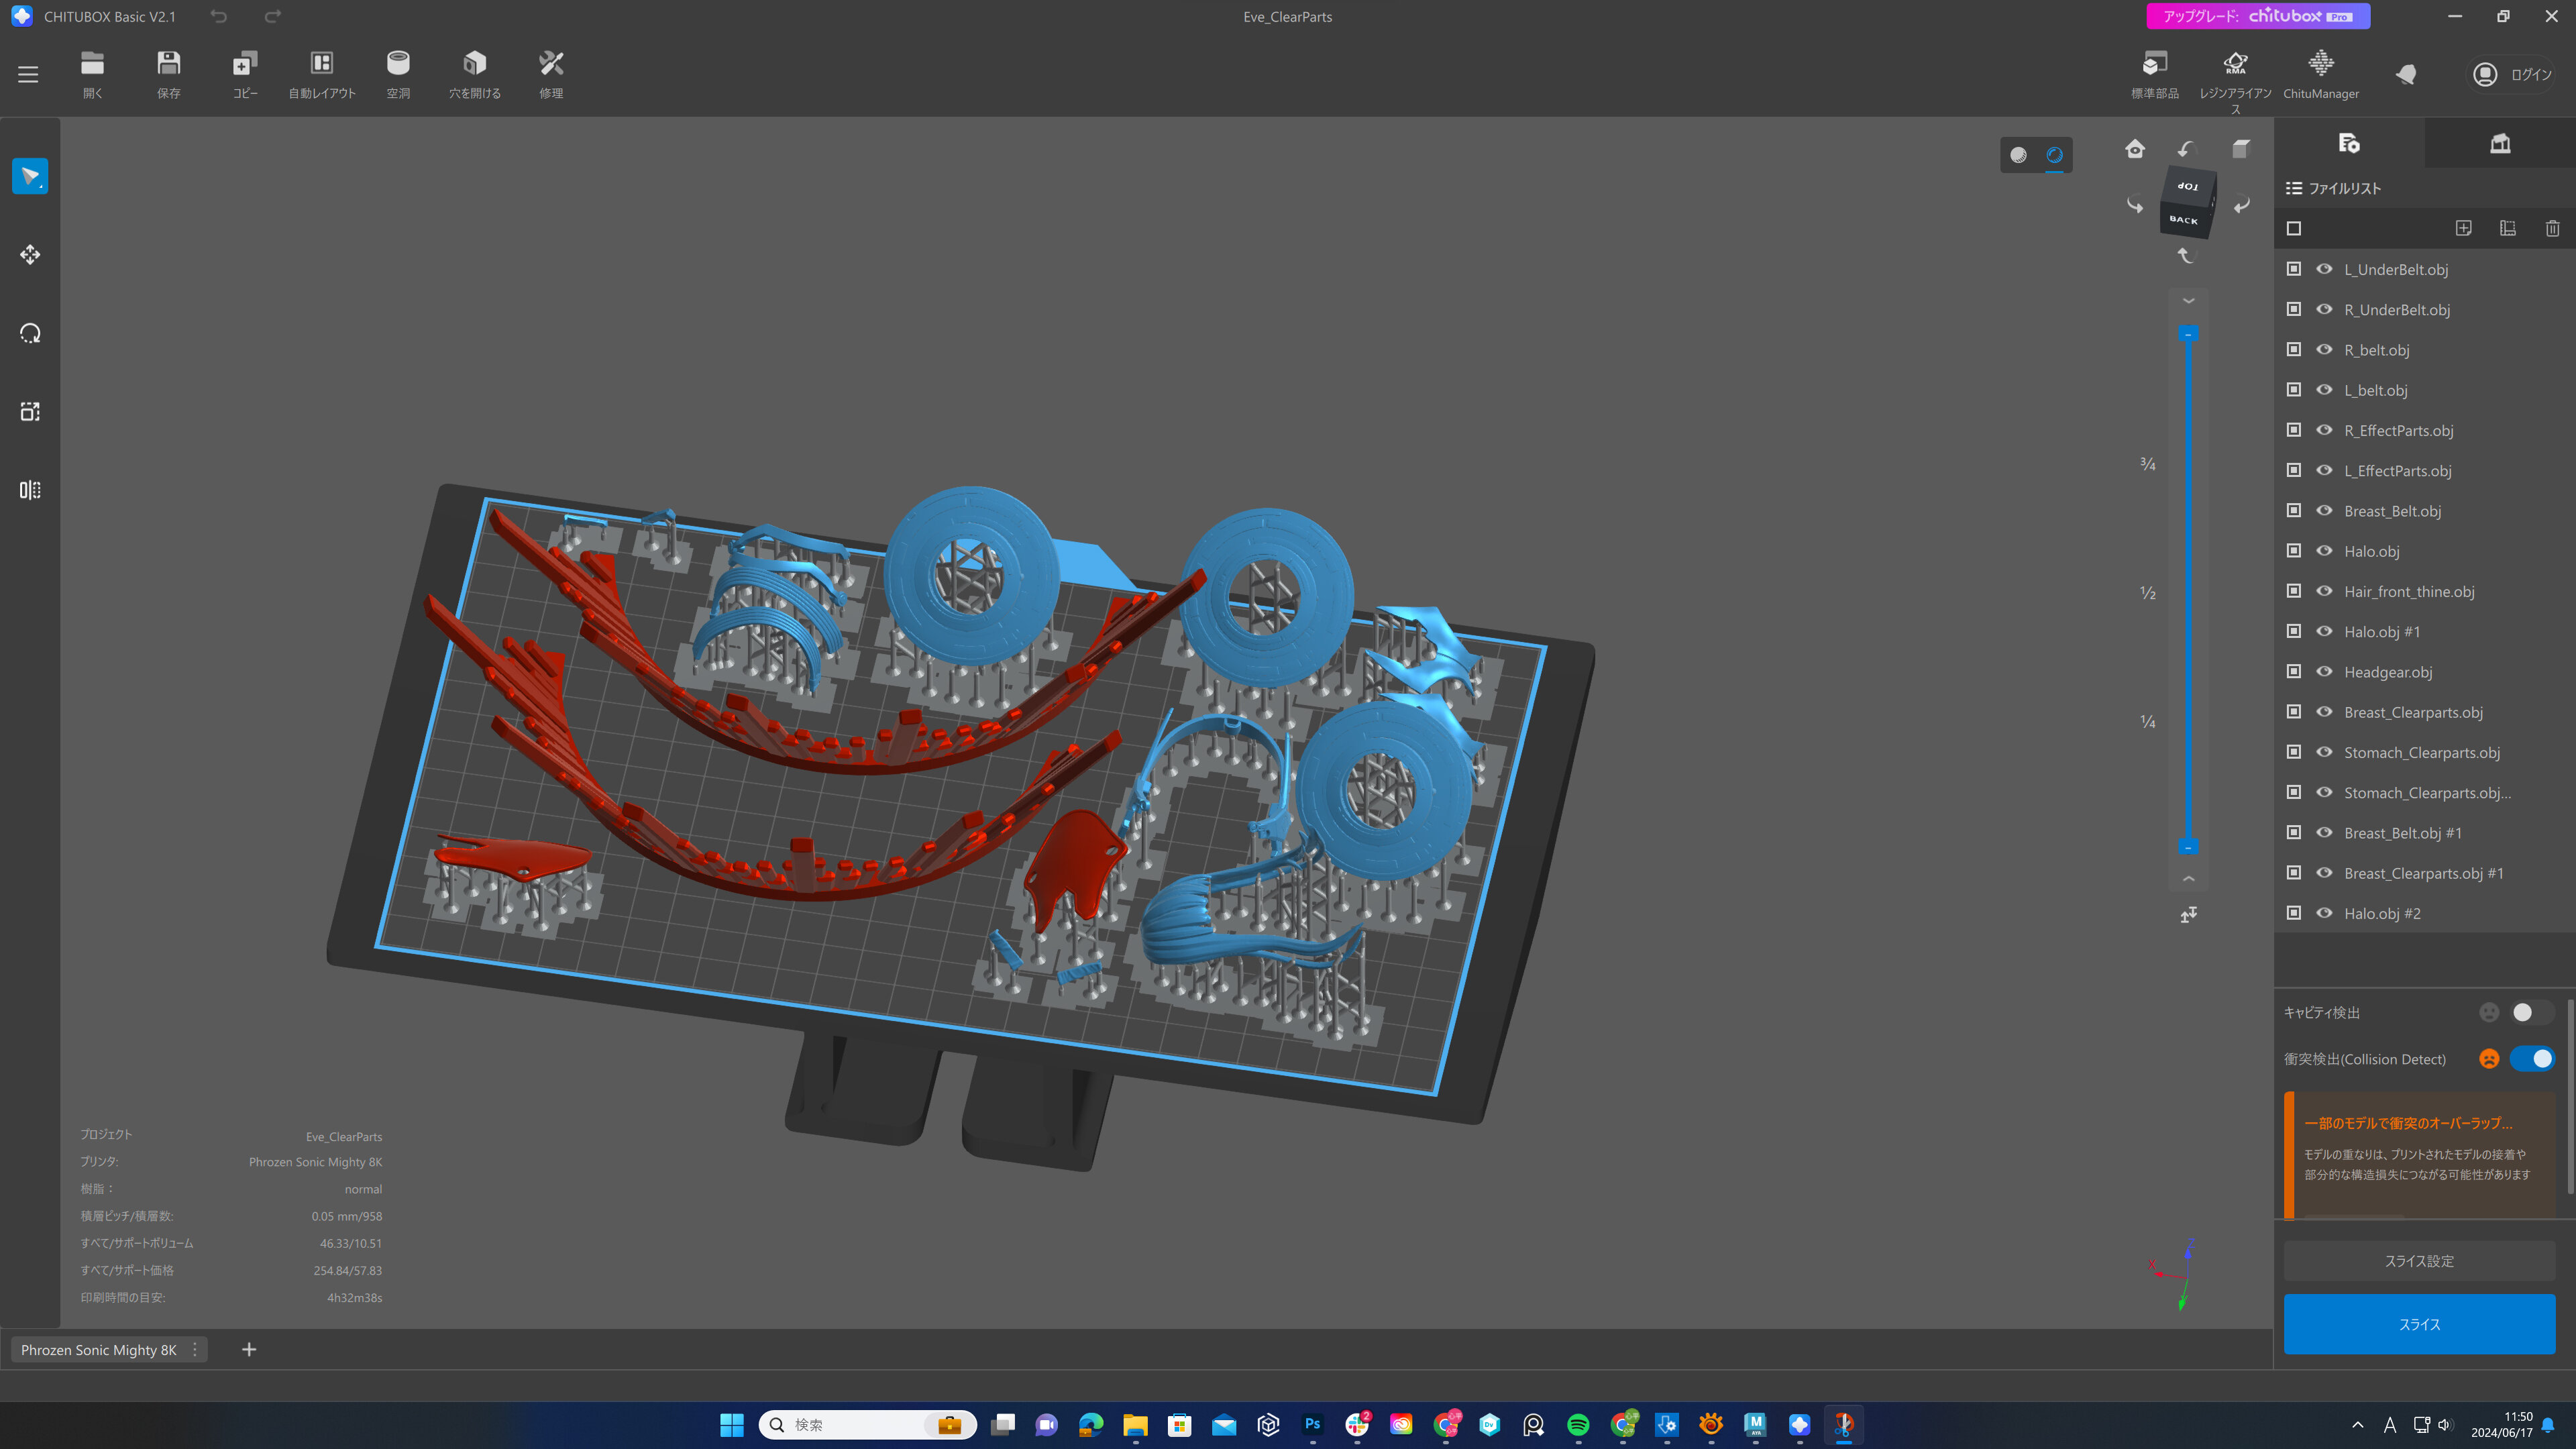
Since there are small parts, I carefully set up supports to prevent them from breaking midway...
I'm also using a lot of clear resin to faithfully reproduce the design illustration.
Finally, starting the test print with the 3D printer!
Ding!
(It was completed in about 24 hours)
So here are the printed parts.
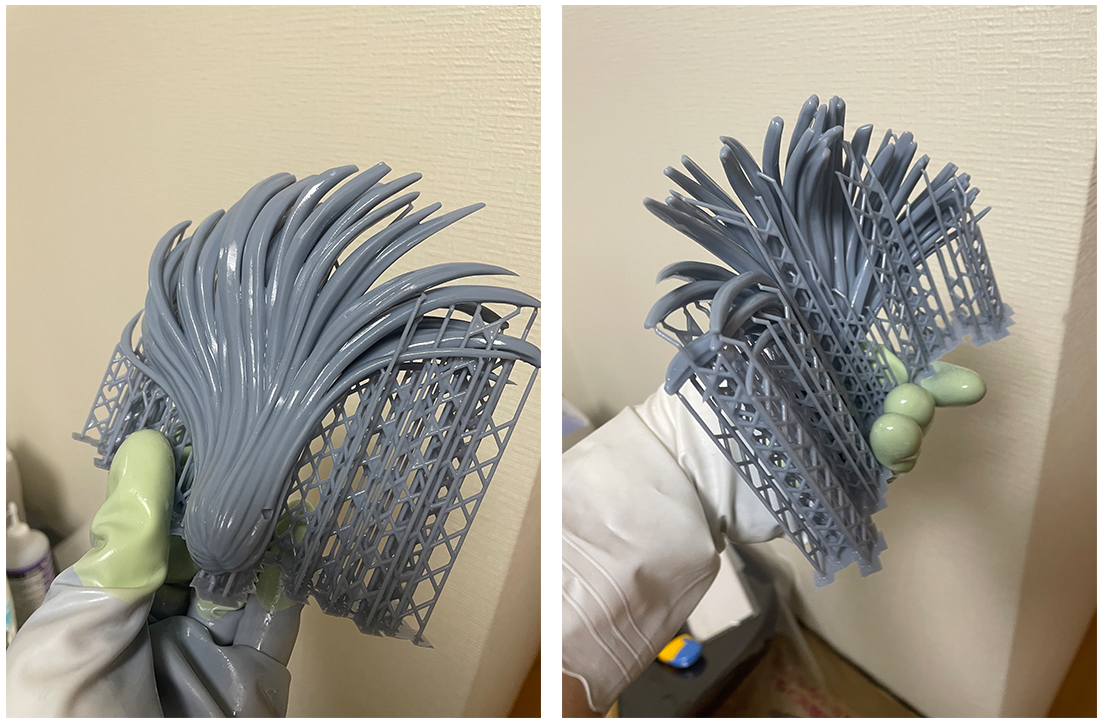
Looks good.
Now, I'm feeling nervous as I start cutting out the parts.
I'll keep cutting them out one by one...
Look at this!
Here's Eve before coloring.
When I applied the preliminary colors, there were floating panels around Eve's body that were originally open from bottom to top. After making adjustments, I changed them so they spread from top to bottom. This is closer to how Eve appears in the game.
Let's take a full circle shot.
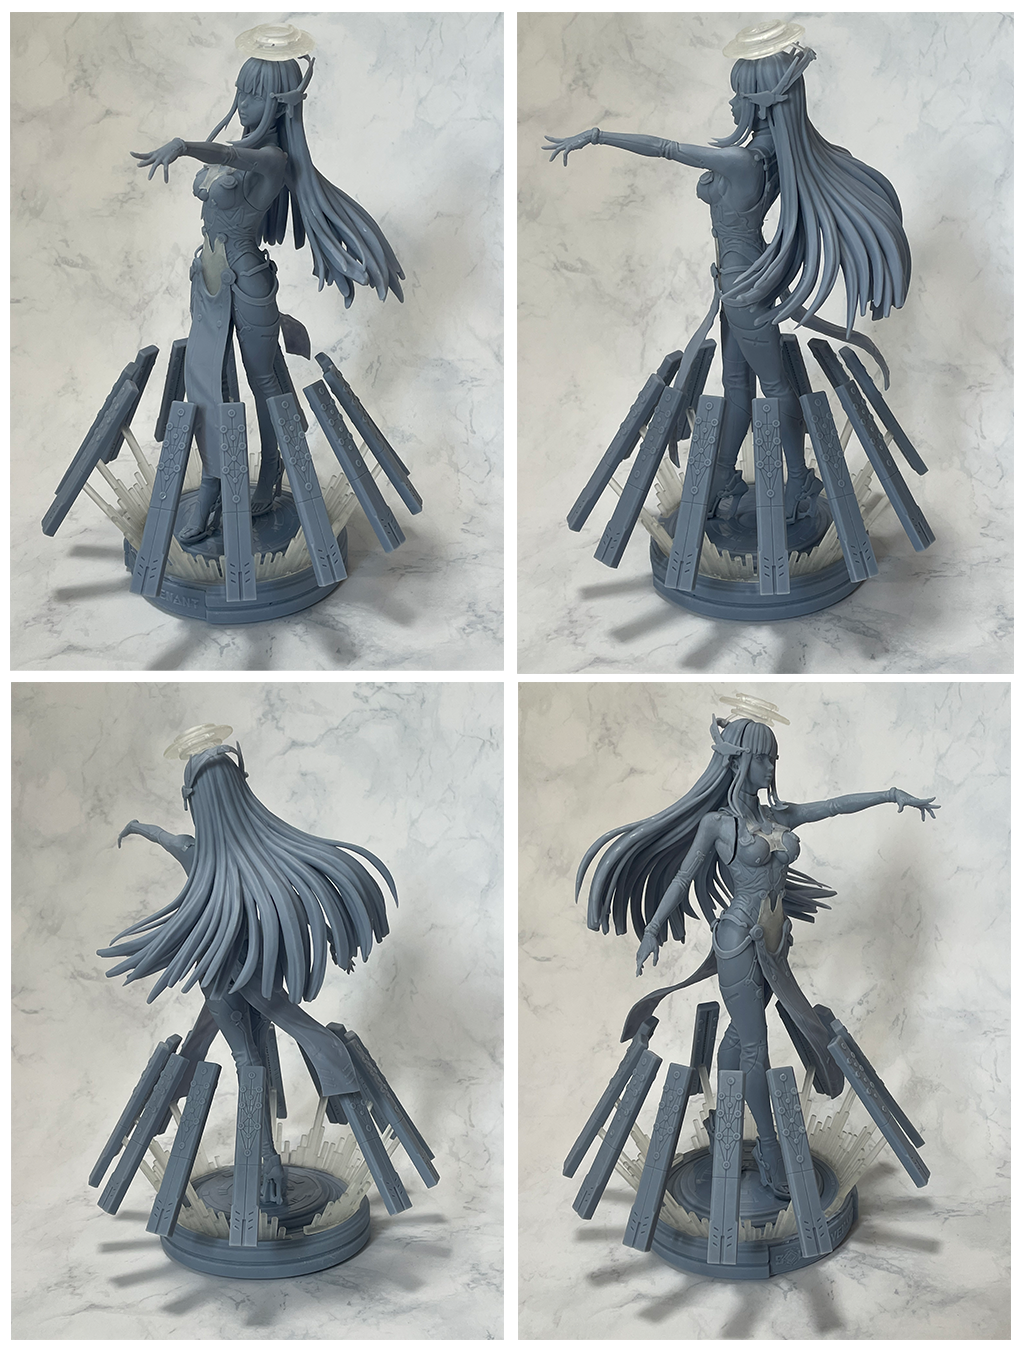
At first glance, it looks good, but this is where I want to pay attention to detail.
Additionally, I'll divide the parts and adjust their thickness and fit.
I'll keep experimenting because parts might be too thin or prone to break. With figures, if you work with attention to detail, you can keep refining them.
The parts I had to reprint the most were the larger ones, especially the hair and the base.
After testing each part...
I've managed to create the parts, including spares, like this!
Next up is finally coloring.
I'll save the process after coloring for Part 3.
Will it finally be completed next time?!
The work continues--
Website: /en/
Meta Quest:https://www.meta.com/experiences/6613144082114849/
PlayStation®VR2: https://store.playstation.com/en-us/concept/10008098
Steam: https://store.steampowered.com/app/2237740/SOUL_COVENANT/
